Grilled Rice Ball (Yakionigiri)
Hey everyone, it is Brad, welcome to my recipe site. Today, I'm gonna show you how to make a special dish, Grilled Rice Ball (Yakionigiri). It is one of my favorites food recipes. This time, I will make it a bit tasty. This is gonna smell and look delicious.
Grilled Rice Ball (Yakionigiri) is one of the most well liked of current trending meals in the world. It's enjoyed by millions daily. It is easy, it's quick, it tastes yummy. Grilled Rice Ball (Yakionigiri) is something which I've loved my entire life. They're fine and they look wonderful.
Many things affect the quality of taste from Grilled Rice Ball (Yakionigiri), starting from the type of ingredients, then the selection of fresh ingredients, the ability to cut dishes to how to make and serve them. Don't worry if you want to prepare Grilled Rice Ball (Yakionigiri) delicious at home, because if you already know the trick then this dish can be used as an extraordinary special treat.
As for the number of servings that can be served to make Grilled Rice Ball (Yakionigiri) is 2 pieces. So make sure this portion is enough to serve for yourself and your beloved family.
Just in addition, the time it takes to cook Grilled Rice Ball (Yakionigiri) estimated approx Less than 20 mins.
To get started with this particular recipe, we have to prepare a few components. You can cook Grilled Rice Ball (Yakionigiri) using 3 ingredients and 7 steps. Here is how you cook that.
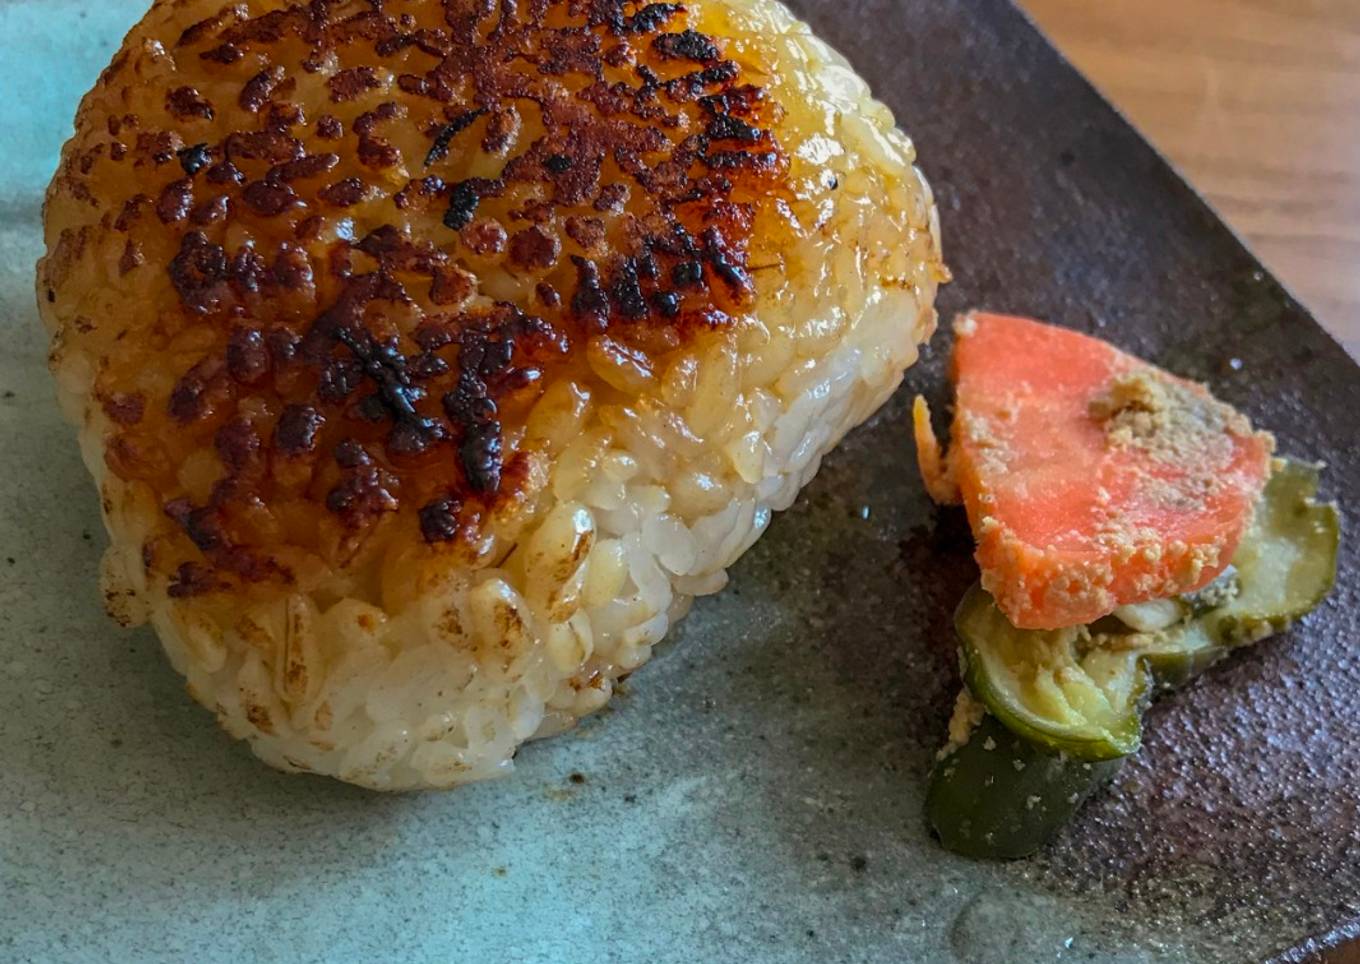
The texture is crispy but sticky. Soy sauce soaks into the simple onigiri (rice ball) and savory smell spreads in your nostrils.
#rice #Japanese #soy sauce #grill #lunch
Ingredients and spices that need to be Get to make Grilled Rice Ball (Yakionigiri):
- 360 g freshly cooked rice
- Proper amount of mixture of soy sauce and mirin (soy sauce : mirin = 2:1) (onigiri sauce)
- Sesame oil for greasing
Steps to make to make Grilled Rice Ball (Yakionigiri)
- Wet your hands with water so that the rice won't stick. Make sure not to use salt because the onigiri will be seasoned by soy sauce later.
- Place the cooked rice and hold it between your palms.
- Form the rice into a round or a triangle by pressing lightly with your both palms.(I used a cling film so that the onigiri keeps clean.)

- Grease the sesame oil on a frying pan then heat it.
- Place the onigiri on the frying pan and grill both sides over medium heat.

- Brush the onigiri sauce over each side of the onigiri and grill each side until crispy over low heat.

- Serve on a nice plate and your grilled onigiri is ready!

As your experience and confidence expands, you will find that you have a lot more all-natural control over your diet plan and also adapt your diet plan to your personal tastes gradually. Whether you intend to offer a dish that makes use of fewer or more components or is a little more or less zesty, you can make easy changes to attain this objective. To put it simply, start making your dishes promptly. When it comes to standard cooking abilities for newbies you don't need to learn them but just if you grasp some easy cooking methods.
This isn't a complete overview to quick and also simple lunch dishes yet its excellent something to chew on. Ideally this will obtain your imaginative juices streaming so you can prepare delicious meals for your family members without doing too many square meals on your trip.
So that's going to wrap it up with this exceptional food Step-by-Step Guide to Prepare Award-winning Grilled Rice Ball (Yakionigiri). Thanks so much for reading. I am confident that you can make this at home. There's gonna be interesting food at home recipes coming up. Don't forget to save this page on your browser, and share it to your family, friends and colleague. Thanks again for reading. Go on get cooking!


Comments
Post a Comment